This post may contain affiliate links. Please read our disclosure policy.
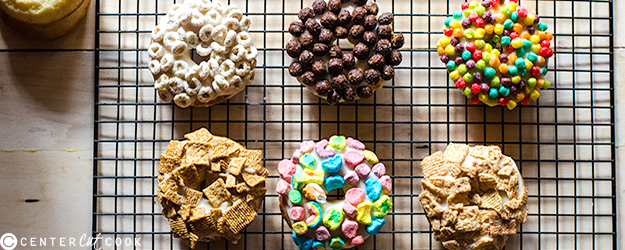
I have a love affair with my donut pan. In my opinion, it is the best invention ever created because it makes me donuts that are healthier than the fried version which means I get to eat more of them. Okay, I am not delusional and know they still aren’t the best, but once you’ve had a baked cereal and milk donut, you won’t be able to resist making them with all of your favorite cereals… and trying eat and every one of them.
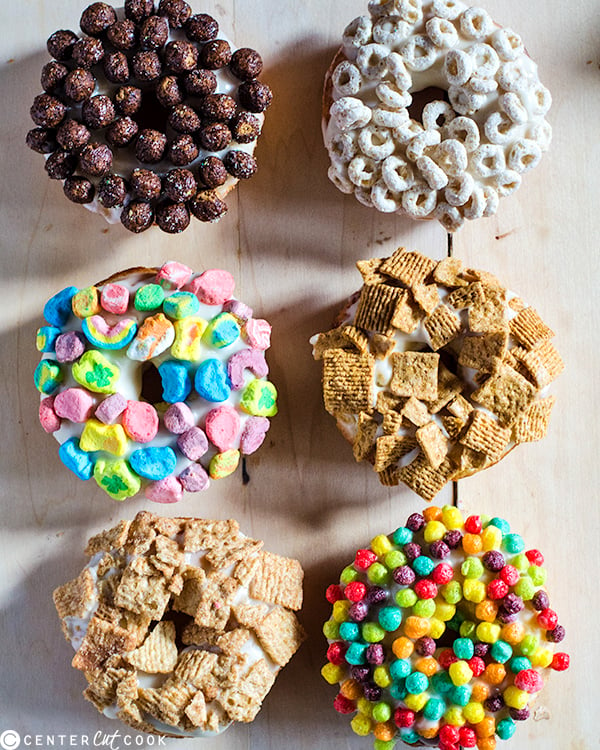
Compared to other baked donuts, these are probably my favorite. They taste more like a bakery style donut and less like a muffing. Don’t get me wrong, muffiny donuts are good too, but not when you are really craving a donut donut. You know what I mean? These are light and fluffy with a really amazing flavor. Then that cream glaze melts in your mouth just as you get that crunch from your favorite cereal topping (side note: my favorite cereal for these donuts are Golden Grahams) The absolute best part about these donuts though? They stay nice and moist in an air tight container for a couple of days, so you can make them and have one (or two) every morning. The recipe is easily doubled if you need to make more!
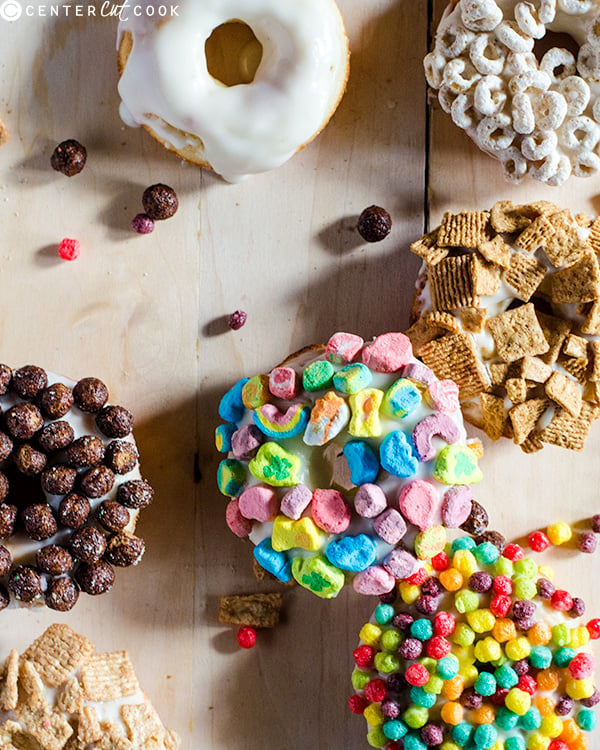
The trick to making these doughnuts is using fresh ingredients (fresh nutmeg is so good in this donut if you have it, but a freshly bought jar of ground nutmeg is just as good!) and really watching your consistency. The batter should have a good number lumps in it. The glaze should be thick and slowly drip down from your spoon. There was very little dripping when I dipped my doughnuts into the glaze. So my best suggestion is to slowly add the cream a tablespoon at a time, mixing constantly. If you think you can handle that, these donuts will be out of your oven and ready to eat in a cinch.
INGREDIENTS
- 1 3/4 cup all purpose flour
- 2 tablespoons all purpose flour
- 2 tablespoons cornstarch
- 3/4 cup granulated sugar
- 2 teaspoons baking powder
- 1 teaspoon salt
- 1/8 teaspoon nutmeg
- 3/4 cup buttermilk
- 2 large eggs, room temperature
- 2 tablespoons unsalted butter, melted
- 2 teaspoons vanilla extract, divided
- 2 cups powdered sugar, sifted
- 2 tablespoons heavy cream
- 1 1/2 cups cereal (any kind)
DIRECTIONS
- Preheat the oven to 425 degrees F. Grease 2 doughnut pans.
- Mix together the flour, cornstarch, sugar, baking powder, salt and nutmeg together. Set aside. Place the cereal on a plate and set aside.
- In a separate bowl, beat together the buttermilk, eggs, melted butter, and one teaspoon vanilla extract.
- Create a well in the flour mixture and pour in the wet ingredients. Mix well until there are just a few lumps, but do not over mix.
- Fill 15 doughnut cavities with the batter (I found using a piping bag or freezer bag with a corner cut out helped speed the process). You may need to make the doughnuts in batches.
- Bake for 7 – 10 minutes, or until light golden brown and springs back when touched. Remove from the oven and allow to cool for a few minutes before removing the doughnuts and cooling on a wire rack.
- While the doughnuts are cooling, make the glaze. Mix together the powdered sugar, remaining vanilla extract, and one tablespoon of the milk until it forms a thick paste. Slowly add more milk, one tablespoon at a time until it forms a thick glaze.
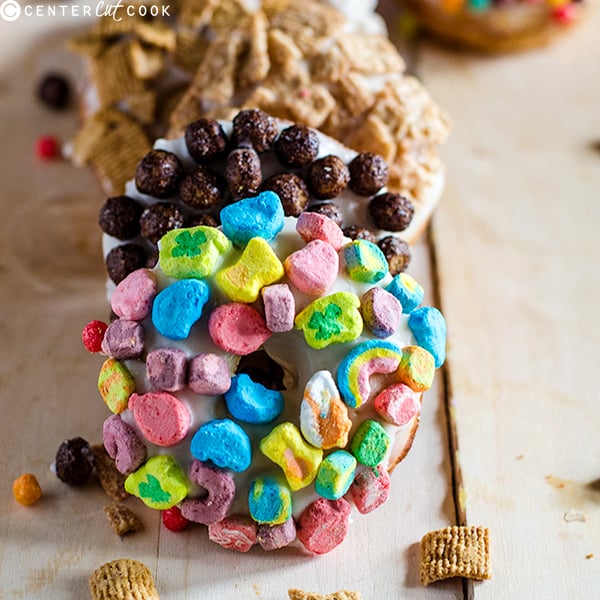
- Dip one side of the doughnuts into the glaze, then dip the doughnuts into the cereal mixture. Allow to sit for a few minutes for the cereal to really stick to the glaze. Best eaten fresh that day, or plain, unglazed doughnuts may be frozen and reheated in a 300 degree oven for about 10 minutes.
