This post may contain affiliate links. Please read our disclosure policy.
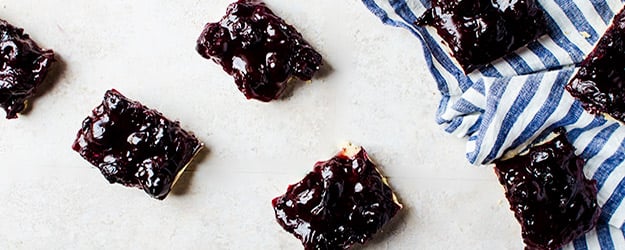
Pies are one of my favorite things to eat for dessert. I especially love cherry pit. To be honest though, I don’t always like working with pie dough and really just want something I can grab and eat casually. And also doesn’t take as long to make as a regular pie.
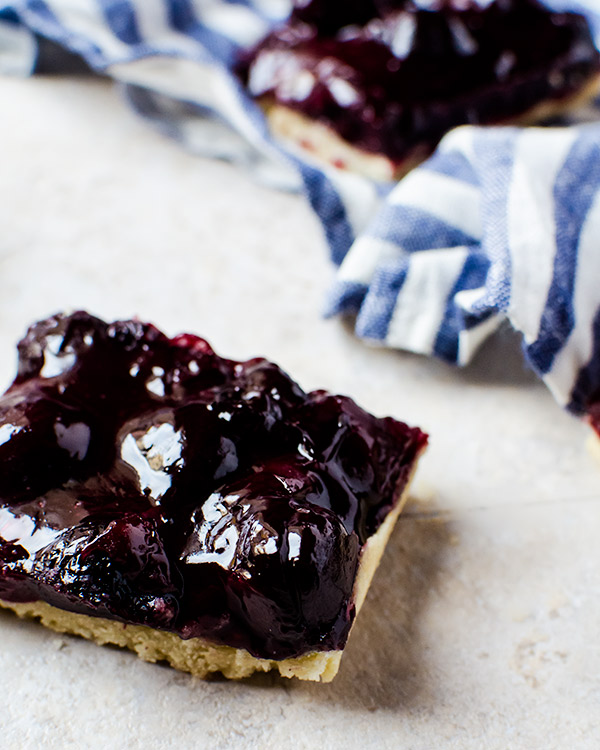
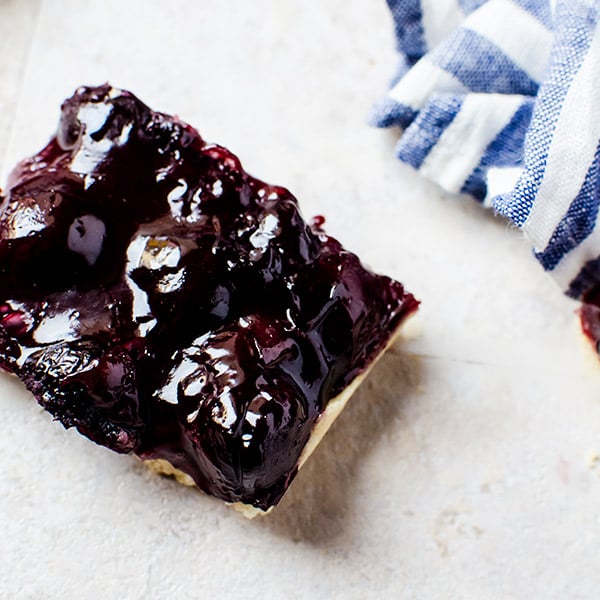
That’s when I realized I needed to get on the cherry pie bar train. It hits all the marks. Tastes like pie, easy to pick up and eat without a fork, and takes way less time and effort to make. Most people I know like pie bars with a top pastry, but I personally prefer it without. I feel like the top pastry overwhelms the filling when combined with the bottom pastry. That’s fine if you are more of a pastry person, but I like a nice balance of each and think its better achieved without anything on top. Of course, sometimes I will top with a bit of whipped cream or powdered sugar.
Like all of my pies, I like to make sure my filling is bursting with flavor, so I added lemon, almond, and vanilla. The cherry pie bars have a wonderful balance of sweet, brightness, and a depth of flavor that makes you want to reach for another slice. I used frozen cherries to make these cherry pie bars which means they are perfect for making year-round, but you can use fresh cherries when they are in season too!
FILLING INGREDIENTS
- 1 lbs 5 oz pitted sweet cherries (frozen okay)
- 2/3 cup granulated sugar
- 1/2 teaspoon salt
- 1/2 teaspoon almond extract
- 1 teaspoon vanilla extract
- Juice of one lemon
- 5 tablespoons cornstarch
BASE INGREDIENTS
- 6 tablespoons unsalted butter, room temperature
- 2 tablespoons sugar
- 3 tablespoons almond flour
- 1 cup all-purpose flour
- 1/4 teaspoon salt
DIRECTIONS
- Preheat the oven to 350 degrees F. Line an 8×8 baking pan with parchment paper.
- Mix together the ingredients for the cherry filling in a saucepan and heat on medium.
- Stir occasionally until the juices from the cherries begin to seep out and the juices start to thicken. Once thickened, remove from heat.
- As you are cooking the filling, mix together the ingredients for the base and mix together until it resembles coarse meal and sticks together when pressed. Dump the base into the baking pan and press down firmly into an even layer. Bake for about 20 minutes.
- Remove the base and pour the cherry filling over. Bake for an additional 20 minutes.
- Allow to cool completely before cutting into bars.
