This post may contain affiliate links. Please read our disclosure policy.

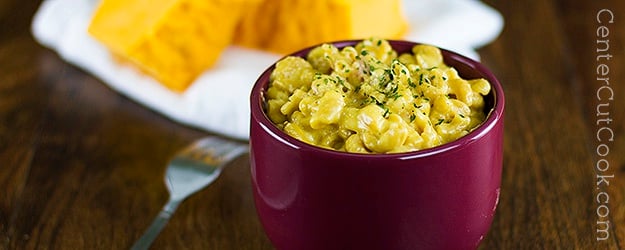
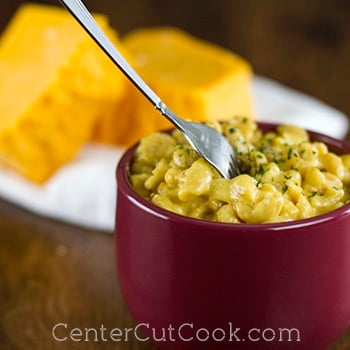
When I say that I’ve searched high and low for a great creamy, easy macaroni and cheese, I mean it. I’ve tried recipe after recipe after recipe (over a span of YEARS), and FINAAAALLLLLLY, this is my go to recipe! Just for clarification, I’m not talking about gourmet mac n’ cheese here because I’ve already got two recipes that I just adore for that category (Four Cheese Mac N’ Cheese and Creamy Havarti Mac N’ Cheese). I’m talking about an everyday macaroni and cheese that’s creamy, and comes together FAST for a quick supper, one that doesn’t cost $50 to make!
There’s nothing I despise more than a pile of pots and pans that need to be washed after making dinner which is why I l-o-v-e this recipe. One pot! Seriously, one pot is all you need to get some of the creamiest macaroni and cheese I’ve had to date. The same pot you cook the noodles in, is the pot you use to make the sauce. This makes the entire process so much simpler compared to boiling water in one pot for some noodles, and making a sauce in another pan.
To make the meal complete, I threw in some diced ham for a little protein, and served some green beans on the side. Feel free to leave the ham out for a vegetarian version, or you could even change up your protein source and throw in cooked shredded chicken, or even bacon. It’s best eaten fresh, there’s no doubt about that! Leftovers heat up fine, but I noticed that some of the creaminess vanishes when it’s eaten as leftovers.
So where did I find the best recipe on earth for creamy macaroni and cheese? I slightly adapted it from America’s Test Kitchen! I turn to them quite often because they put so much work into testing their recipes. They came up with the idea of using evaporated milk to get the creamy texture and I have to tell you, it works. One of my major complaints with most of the versions I’ve tried is that I end up with a grainy texture. The evaporated milk prevents this and leaves you with the perfect, creamy consistency.This macaroni and cheese is irresistible! I don’t see myself feeling the need to buy Kraft Macaroni and Cheese now that I’ve got this recipe in my arsenal. It’s a winner, that’s for sure!
Notes: I do not recommend substituting fat-free evaporated milk because well, I just don’t! Try it at your own risk. I’ve got a feeling you’d lose the creamy consistency which is what makes a good mac n’ cheese. Secondly, use whatever cheese combo you’d like. I liked the combo of white and yellow sharp cheddar cheese but feel free to use whatever you have on hand!
INGREDIENTS
- 8 ounces whole wheat elbow macaroni noodles (about 2 cups dry pasta)
- 2 large eggs
- 1- 12 ounce can evaporated milk (found in the baking aisle)
- 1 teaspoon dry mustard dissolved in 1 teaspoon water
- 1/2 teaspoon Tabasco
- 4 ounces sharp white cheddar cheese
- 6 ounces sharp yellow cheddar cheese
- 6 tablespoons unsalted butter
- 8 ounces ham, diced
- Salt, pepper
DIRECTIONS
- Boil 8 cups of water in a large sauce pan or stock pot.
- When the water is boiling, add in 1 1/2 teaspoons salt.
- Add in 8 ounces whole wheat elbow macaroni noodles and cook for about 5 minutes, or until the noodles just start to soften.
- While the noodles are cooking, in a medium sized bowl, combine 6 ounces evaporated milk, 2 eggs, dry mustard/water mixture, and Tabasco. Stir to combine well. Set aside.
- Drain the noodles and return them to the pan.
- Add in 4 tablespoons of butter. Allow the butter to melt over medium-low heat.
- When the butter has melted, slowly stir in the milk/egg mixture and 6 ounces of cheese.
- While you’re stirring, slowly add in remaining evaporated milk and the addition 6 ounces of cheese.
- Stir in diced ham, 1/2 teaspoon salt, and 1/2 teaspoon black pepper.
- When the macaroni and cheese has a creamy consistency, and the ham is heated through (about 5 minutes), remove from heat and serve immediately. Adjust seasonings according to your preference.
Recipe adapted from
America’s Test Kitchen


