This post may contain affiliate links. Please read our disclosure policy.
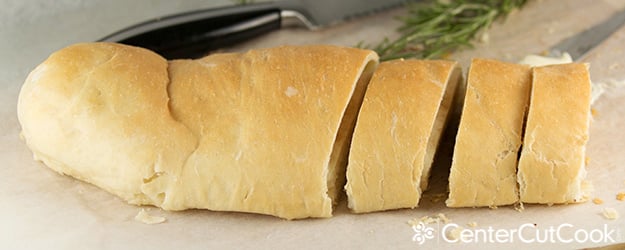
Making bread, from scratch, is one of the only things left when it comes to recipes, that I am terrified of! At the end of the day, yeast can be cranky and difficult to work with, amiright? If you take a look around here, at CenterCutCook, you’ll notice that I really don’t have any bread recipes and it’s simply because I have had more than my fair share of bread failures! You name it, I’ve experienced it – bread dough not rising, dough too sticky, too firm. Yeast and I usually don’t get along but I wanted to change that so….
When my friend Angela invited me to go to a bread making class at this cute Cake Decorating Studio in Chicago called Give Me Some Sugar (they offer lots of fabulous classes for kids and adults alike. If you live in the Chicagoland area, definitely check it out!), I knew I had to do it! The only way to overcome your fears is to face them, right (for the record, I usually run far far away from them….)?
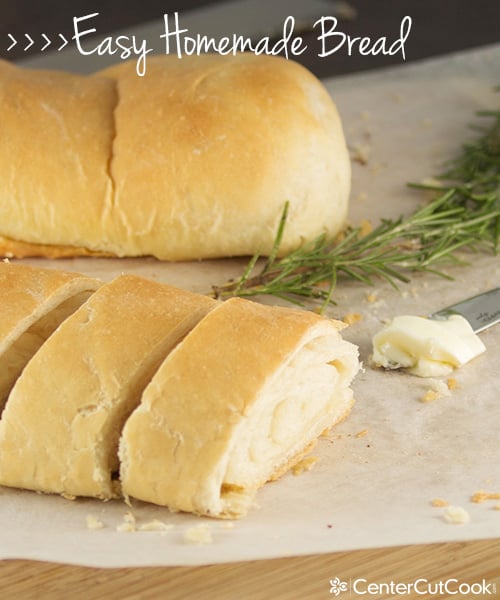
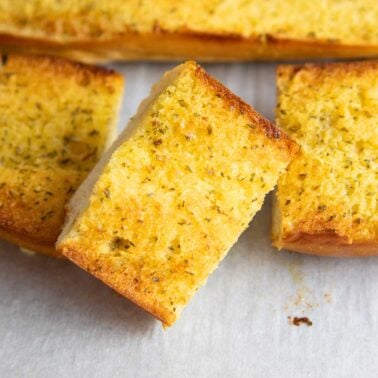
The chef teaching the class went over the basics; we learned how to make French and Italian Breads, focaccia, ciabatta, baguette, and this insanely delicious garlic bread roulade. I know, it sounds fancy, but it’s basically dough that gets slathered with butter and garlic before getting rolled up and baked. While I loved the garlic bread roulade (and now make it instead of breadsticks!), I wanted to make a version of it without the garlic, that could be served alongside Thanksgiving Dinner. I tried making it with just butter and guess what? It turned out fantastic!
What I learned from bread making class is that it’s important not to add too much flour. If you do, you’re going to end up with a dough that’s dense which does NOT produce very good bread. The first few times I tried making this recipe on my own, I added way too much flour. Finally I learned not to add all of the flour at the same time, and instead add it slowly and to look for the dough pulling away from the mixing bowl. You see, as you’re making dough, if you haven’t added enough flour, it’s going to be super sticky and stick to the sides of the bowl. Once you add enough flour, it’ll start pulling away from the sides of the bowl and come together. My trick, for this recipe is to start by adding 2 cups of flour, and then add additional flour, 1/4 cup at a time until the dough comes together. This will ensure that you don’t add too much flour!
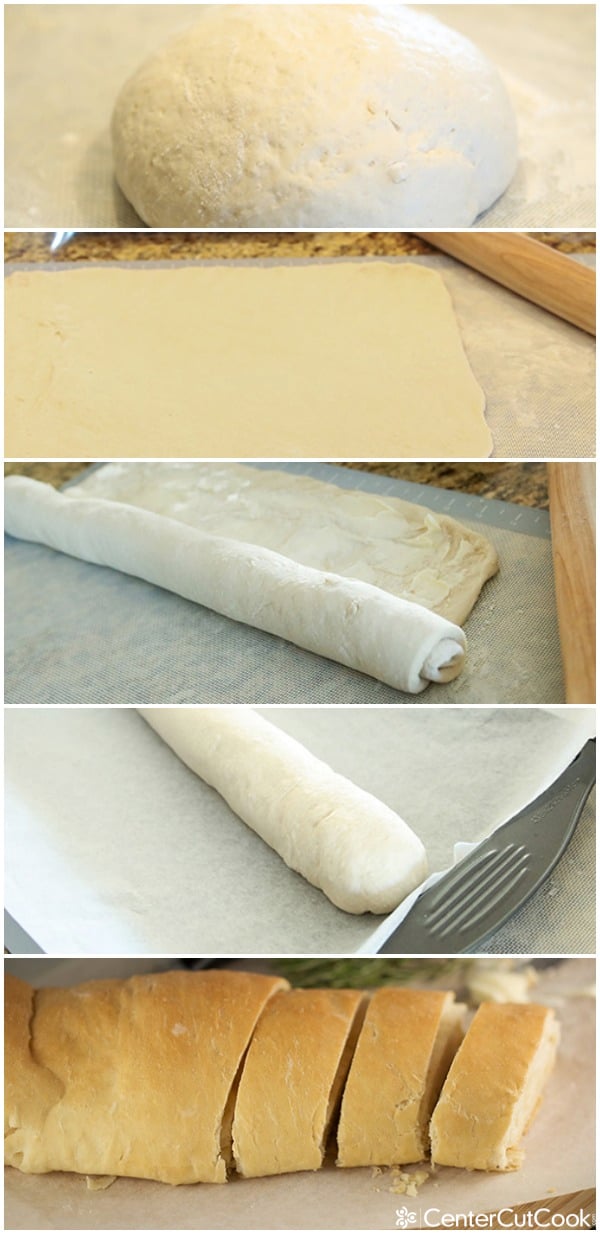
Here’s a look at the step-by-step process once you’ve made the dough and have allowed it to double in size which will take about 1 and 1/2 to 2 hours. The gist of it is this (detailed instructions below): Roll out the dough into a rectangle, slather it with lots o’ butta, roll it up nice and tight, pinch the seams shut and bake until golden brown and delicious!
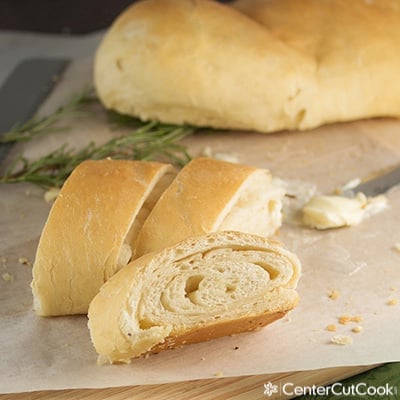
Can I just tell you how amazing this bread is? The butter will seep out a little bit, but you know what, you want it to! That butter will help the bottom crisp up. A buttery crispy bottom is amazingly delicious, just trust me on this one! This delicious bread recipe can be used for SO many different things, including Thanksgiving dinner as an alternative to traditional rolls. As long as you follow the instructions, the result will be an amazing, buttery bread that will impress your family and friends. Promise! Enjoy!
INGREDIENTS
- 3 cups all-purpose flour, divided
- 1 packet active dry yeast (2 and 1/4 teaspoons)
- 1 teaspoon salt
- 1 tablespoon sugar
- 1 cup warm water
- 2 tablespoons vegetable oil
- 1 stick butter, softened
DIRECTIONS
- In the bowl of your stand mixer with the dough hook attached (or in a food processor), combine 2 cups of all-purpose flour, 1 packet active dry yeast, 1 teaspoon salt, and 1 tablespoon sugar.
- Add in the warm water and vegetable oil and begin to mix, scraping down the bowl occassionally.
- Add in additional flour, 1/4 cup at a time, until the dough pulls away from the edge of the bowl. I ended up using about 2 and 1/2 cups flour total for this recipe. Do NOT add too much flour, otherwise you will end up with a dense dough that won’t produce very good results. Just keep an eye on the dough as it’s mixing, and when it begins to pull away from the sides of the bowl and come together, you’ve added enough flour. It should not be overly sticky. Allow the dough hook to knead the dough for a few minutes.
- Turn out the dough onto a floured surface and knead it a bit more, if needed, until it’s smooth. I usually let my dough hook do most of the work, but you can also knead it by hand.
- Place the dough in a lightly oiled bowl, cover, and allow to rise until it doubles in size – about 1 and 1/2 to 2 hours.
- Preheat your oven to 375 degrees.
- Turn out the dough onto a lightly floured surface. I like to use my non-stick mat for this task. Use a rolling pin to roll the dough into a 14 x 12 inch rectangle.
- Spread the dough with 1 stick of softened butter, leaving about 1 inch of room on the edges.
- Starting with the long end, roll up the dough tightly. Pinch the dough closed, fold over the ends and pinch them closed as well.
- Line a baking sheet with parchment paper or a non-stick baking mat. Place the dough on the baking sheet and allow it to rest for about 30 minutes.
- Bake for 25-30 minutes, or until the bread is golden brown.
- Allow the bread to cool for about 30 minutes before cutting it into slices.
Recipe from
CenterCutCook
