This post may contain affiliate links. Please read our disclosure policy.
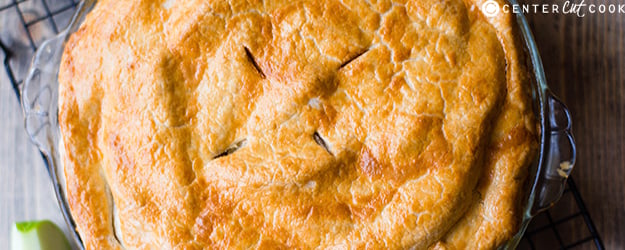
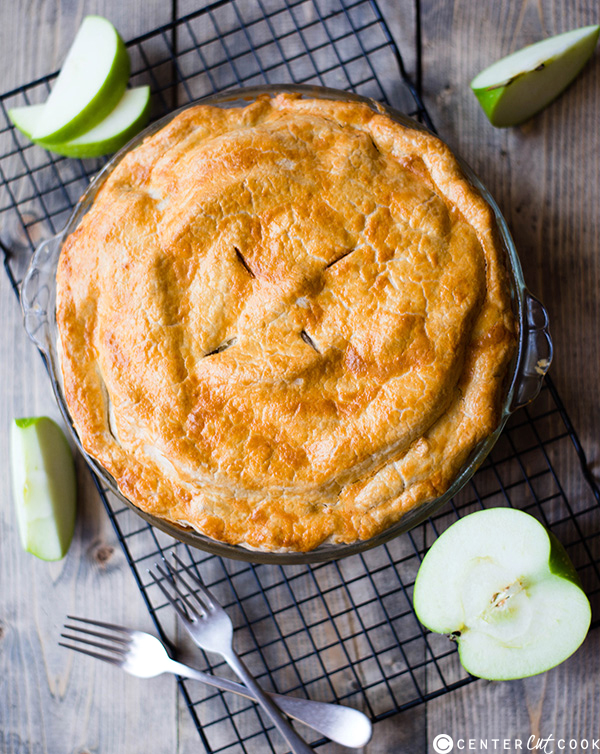
As the holiday season is upon us and we’re bombarded with all things pumpkin and pumpkin spice, I thought I’d share my favorite homemade apple pie recipe.
You know, to be different. And because: apple pie.
Let us not forget about the tasty apple during the fall and winter. Yes, pumpkin is amazing, but apples are awesome, too!
This homemade apple pie recipe took quite a lot of attempts at perfecting it. There’s some finesse, I learned, for how to get the top of the pie to look and taste delicious, the right spices and liquids to use, how long to let it rest, what type of apples to use, and – possibly most important – how thick to slice your apples. (All of these are listed out in the instructions, have no fear).
Not that I minded, though, testing a half dozen apple pies. It’s a hard job that I do…NOT.
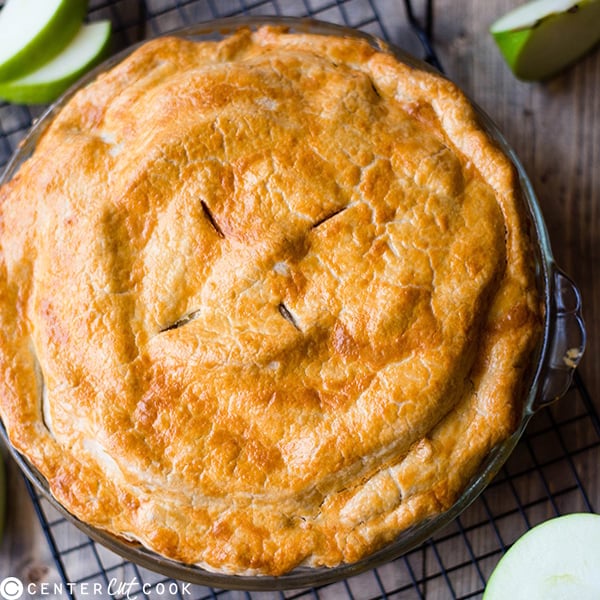
This recipe will provide you with a deliciously sweet, yet not too sweet, apple pie with perfectly layered (and not mushy!) apples, as well as a beautiful crust. It’s my go-to apple pie recipe and it’s perfect for the holidays. I hope you enjoy it as much as my family does.
INGREDIENTS
- 6 Granny Smith apples, peeled, cored and sliced evenly into 1/4-inch slices
- 1 1/4 cup sugar
- 1/2 fresh lemon (zest and juice)
- 1/2 tsp. ground cinnamon
- 1/4 tsp. allspice
- 1/4 ground nutmeg
- 1/8 tsp. pure vanilla extract
- 1 pie crust top and bottom, un-baked
- 1 egg yolk
- 1 tbsp. heavy whipping cream
DIRECTIONS
- Preheat the oven to 375 degrees.
- In a large mixing bowl, add the apple slices and then sprinkle the sugar, lemon zest, lemon juice, cinnamon, allspice, nutmeg, and vanilla extract over the apples. Stir to coat the apple slices as evenly as possible and then set aside to roll out the dough.
- Roll half of the dough out for the bottom of the pie. Once it’s approximately 12 inches in diameter, carefully lay it into a 9-inch pie dish, allowing the sides to overhang the pie dish by 1-2 inches. To transfer the crust, it can be folded gently into quarters or rolled up on the rolling pin and then unrolled over the pie plate.
- Stack and layer the apple slices into the pie crust, making a mound in the center. Pour half of the cinnamon-sugar juices from the bottom of the apple bowl over the apples and discard the rest.
- Roll the second half of the pie crust out to an approximate 10-inch diameter. Carefully transfer to the top of the pie, allowing the sides of the dough to overhang the pie plate. Trim the overhanging dough to be 1-inch with a knife. Using your fingers, roll the bottom and top crusts together and fold into itself in the pie plate, creating a seal. Crimp this new edge (which will be the thick crust) either by pinching with your fingers or by using a fork to push down all-around. The dough should form a seal all around the pie.
- In a small mixing bowl, beat the egg yolk with the heavy whipping cream. Brush this mixture over the top crust of the pie. Slice 4-6 3/4-inch slits in the top of the pie so steam can release when baking.
- Bake for 15-20 minutes or until the crust starts to become lightly brown. Then, reduce the heat to 350 degrees and bake for an additional 45-60 minutes. The pie is done when the top is golden-brown and the juices are bubbling through the slits in the top or are audible from within.
- Cool completely on a cooling rack and then refrigerate for at least one hour to allow the juices to thicken.
